What is a rough sketch?
A rough sketch is a powerful tool used during the early stages of creative projects. It’s a visual brainstorming tool, and involves clients in the design process so they understand how their content will come to life in a visual story. But you can also use rough sketching to help plan most anything, whether it’s a design project, life goals, or rearranging your furniture.
Rough sketches don’t aim for perfection. A rough sketch typically includes minimal detail, and focuses primarily on the structure and flow of information. By serving as a loose framework, a rough sketch allows you to explore different concepts and directions in the initial stages of a project, facilitating a clearer vision for the final design.
Let’s take a closer look at how we use rough sketching for infographics, animations, and graphic recording… plus tips and a free template to kick start your own brainstorming!
Infographics
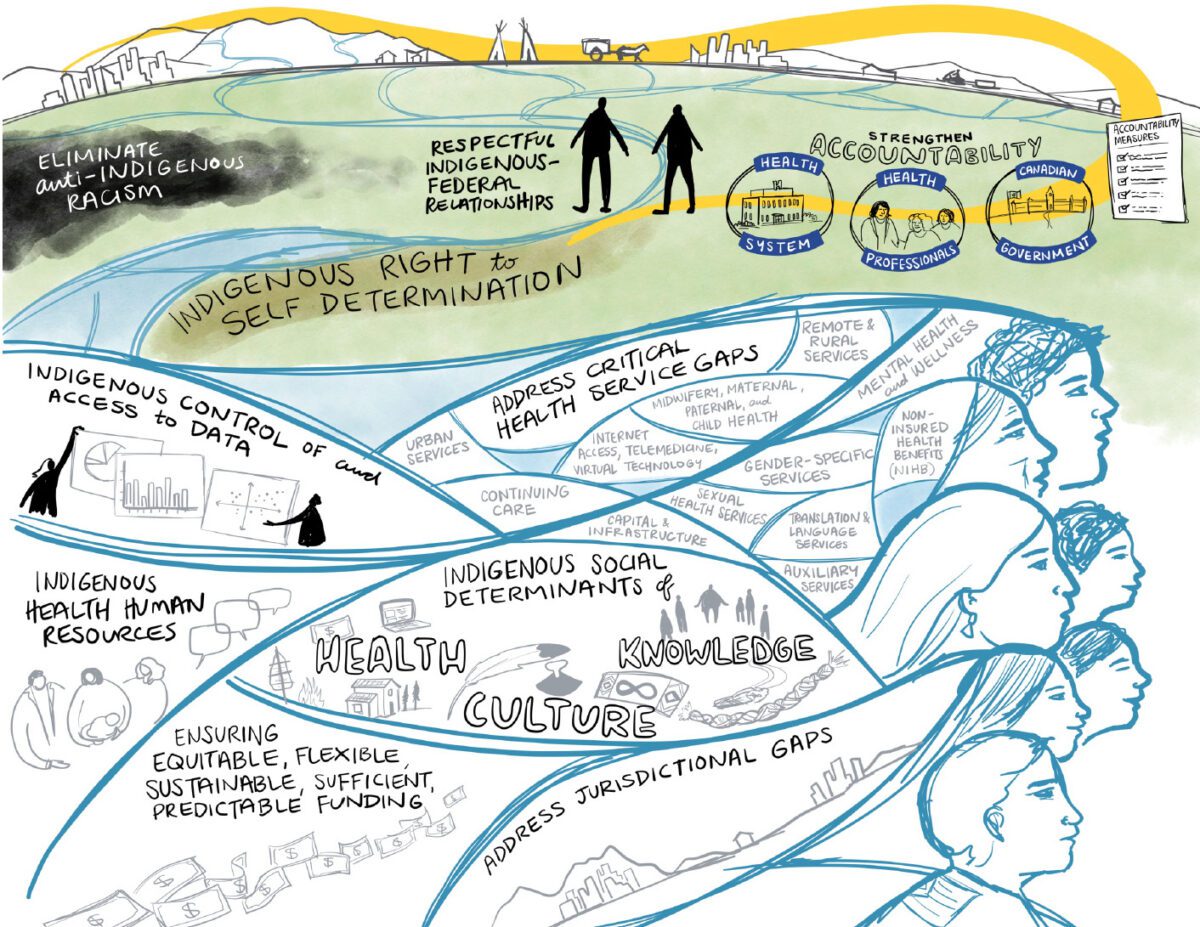
During the preliminary stages of an infographic project, we review the client’s content (see our post on preparing your content for an infographic) and start rough sketching 2-3 potential layouts.
These layouts are distinct from each other and have a different flow of information on the page. They don’t have detailed illustrations or text, as the purpose is to present overall layouts for the content. By providing multiple rough sketches, clients can explore various ways of structuring their message, such as thematic, chronological, or statistical.
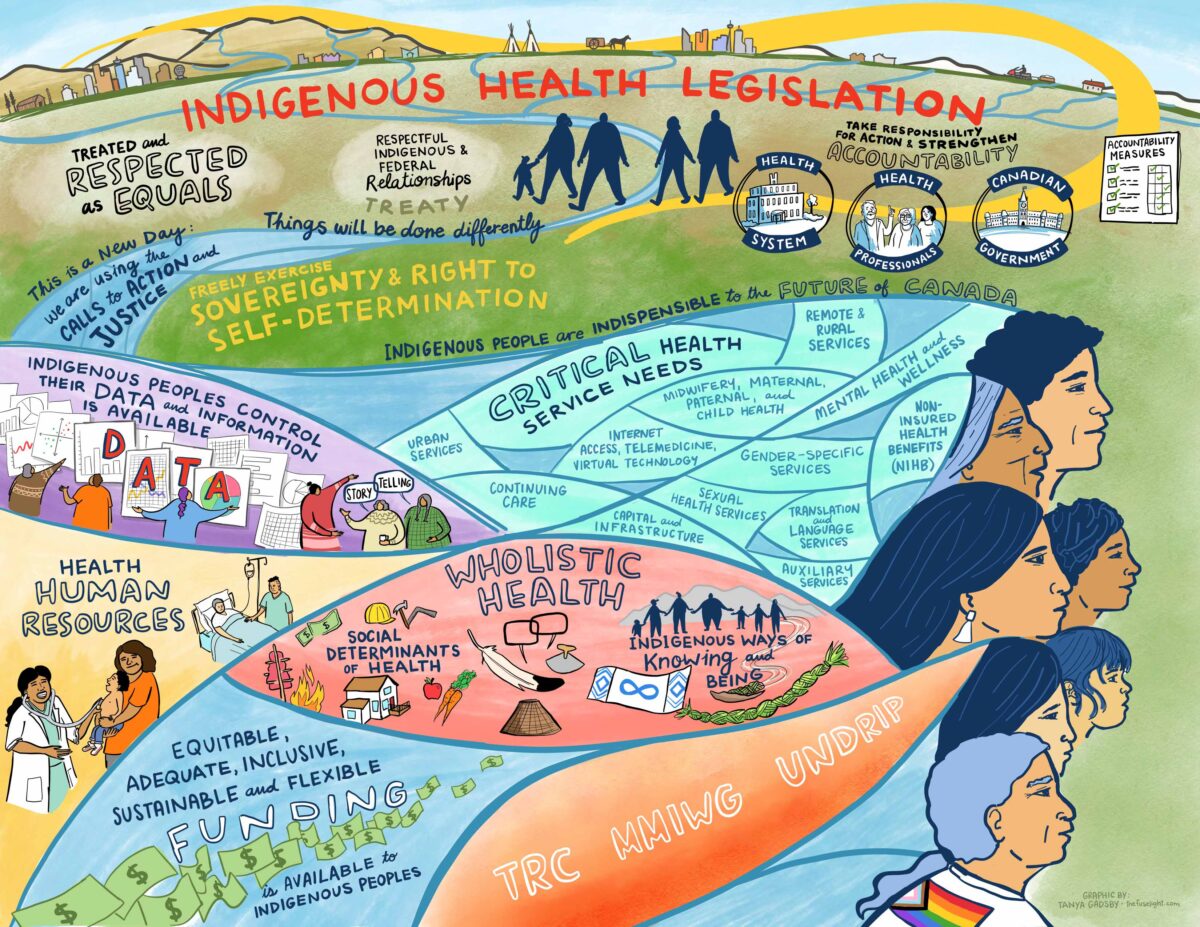
This is the evolution of a rough sketch into a more polished second draft, and a final version.
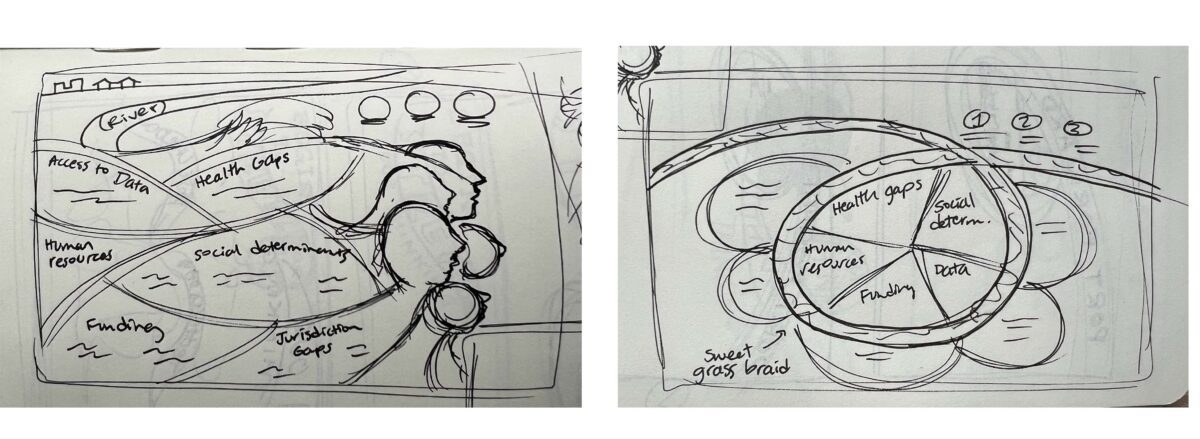
Two rough sketches showing different layouts for an infographic.
Second draft of the infographic, including more detail.
The final infographic.
Storyboarding for an Animation
Storyboarding is an essential stage of designing animations. It’s where we prepare detailed illustrations of each scene for the client to review before we animate.
But before we present storyboards, we often start with thumbnail sketches to determine the flow and sequence of ideas. This allows us to establish the narrative structure and visual aesthetics of the animation early on. We can’t dive right into detailed storyboarding without knowing how scenes transition from one to the next.
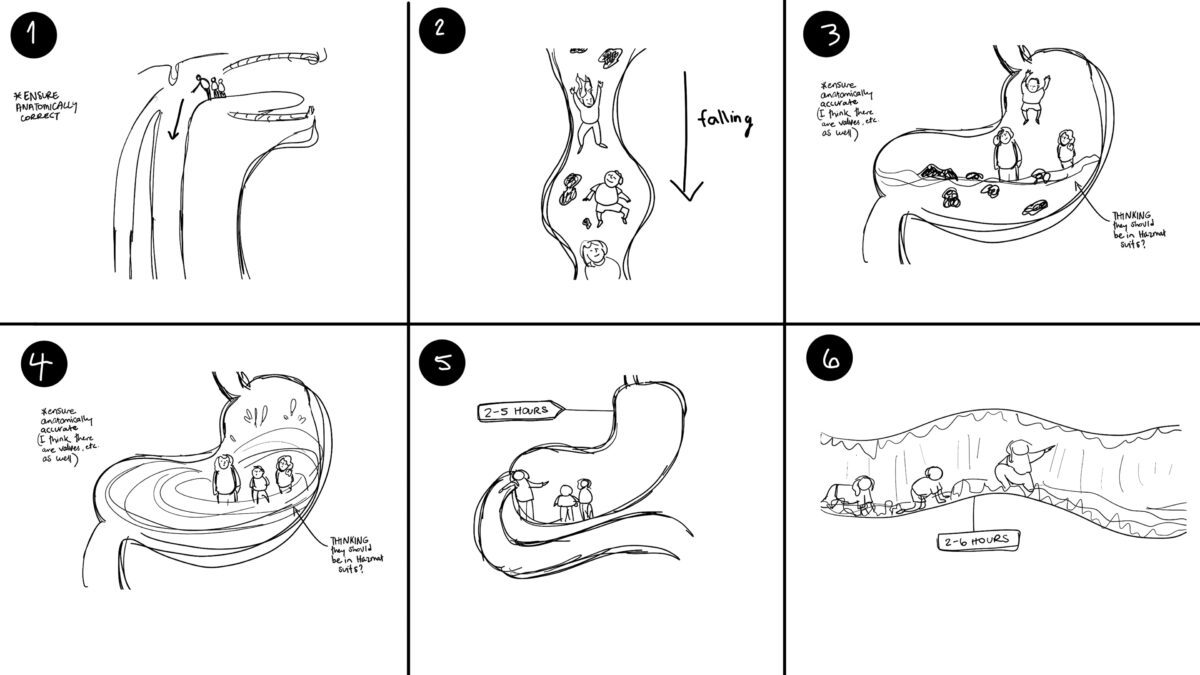
Rough storyboarding of scenes for an animation. See final animation below.
Graphic Recording
Graphic recording, or visual note-taking, is another area where rough sketching shines. Before a meeting, we might review the agenda and suggest ways graphic recording can facilitate the dialogue. Often this is best done with a visual template that we populate during the session.
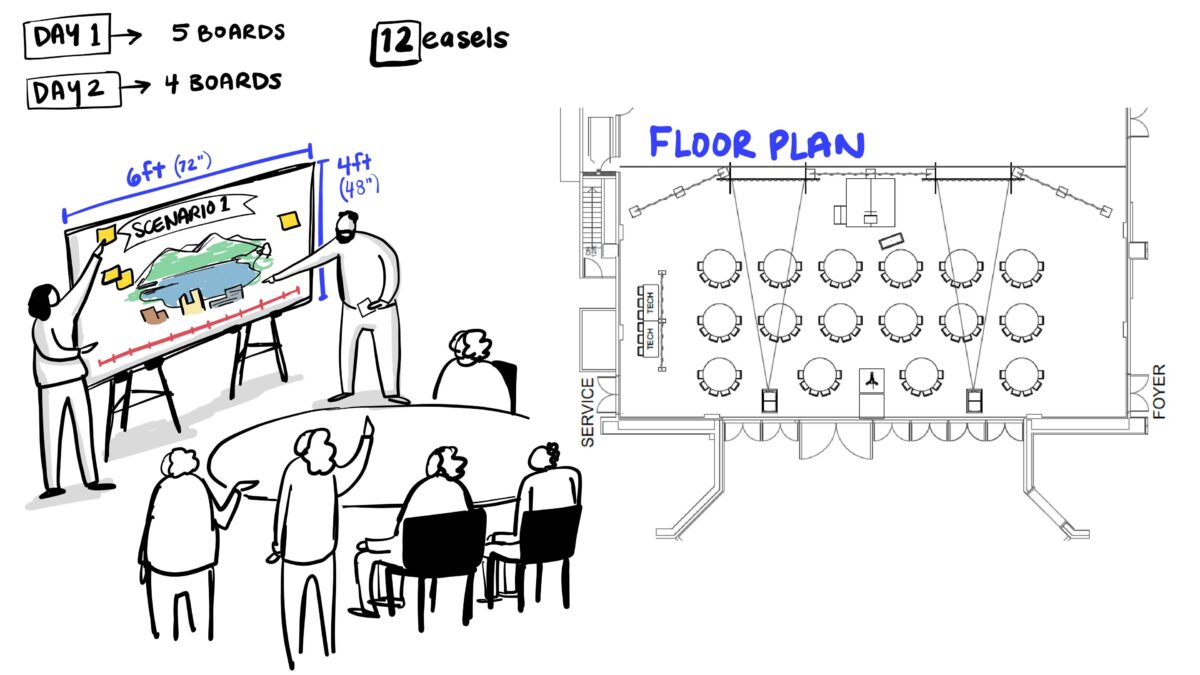
A mock up showing a proposed approach for integrating graphic facilitation with group work.
Just as we do with infographics, we mock up 2-3 sketches of proposed layouts that would facilitate the group work. Depending on how we’ve organized the layout, this can have a huge impact on how the group interprets the content and what is emphasized most on the graphic recording.
Once the client has chosen a visual template, it’s drawn on large poster paper ready to be populated in the session. We also sometimes print large worksheets with the template, which can help facilitate group dialogue or individual brainstorming.
Graphic facilitation: Rough Sketching in Real Time
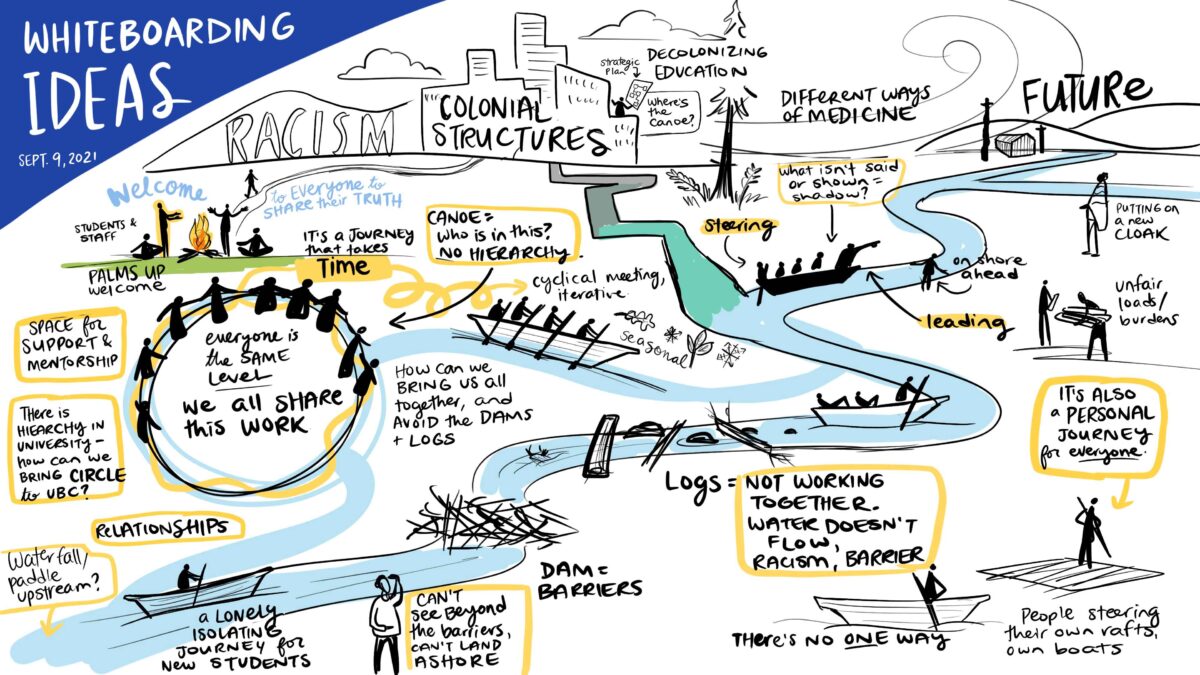
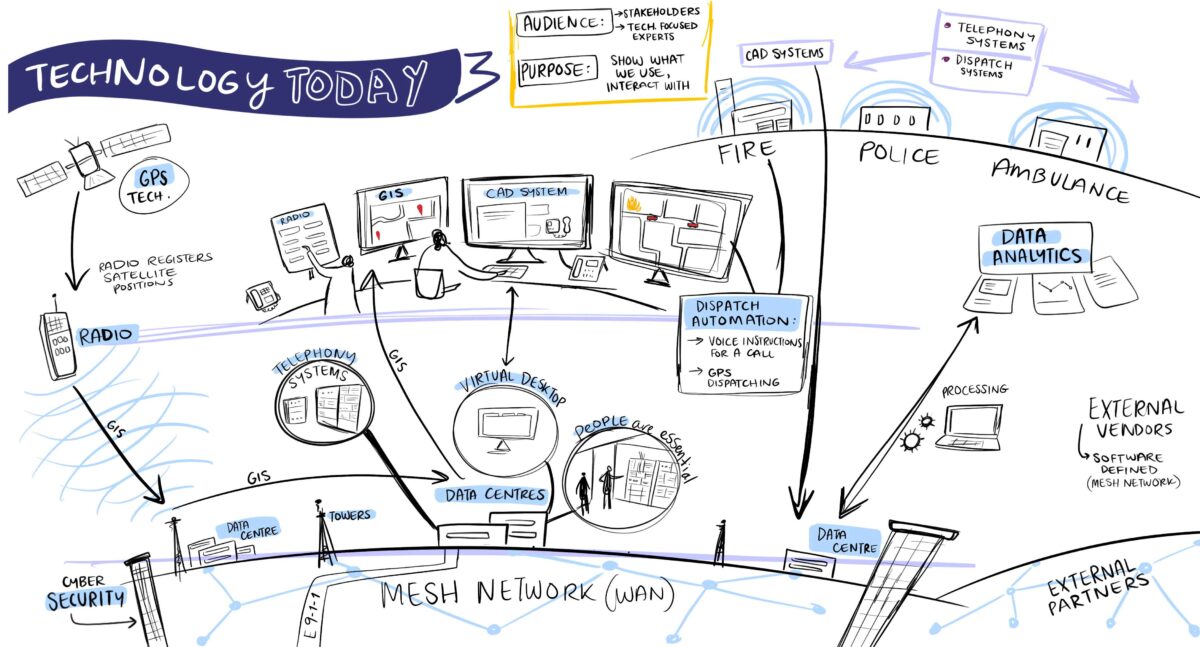
Graphic facilitation is rough sketching in action. This process is highly collaborative, as we are working with the client (might be one person or a group) and helping them map out ideas in real time by rapidly drawing and sketching.
We ask prompt questions, move items around, quickly erase or scribble new items in… it’s a mess, but it’s facilitative and helps everyone work through complex content.
Rough graphic facilitation of themes on de-colonization in health care education. This was quickly illustrated in real time with a group of Indigenous Elders and advisors.
Live mapping of technology infrastructure for an emergency call network. This was mapped out in real time with a group of seven technology experts.
As you can see above, graphic facilitation is a visual web of concepts, connections, and possible avenues for exploration. It’s a dynamic, interactive method that helps crystallize ideas for further refinement.
Rough sketching: tips to get you started
Keeping it rough allows you to embrace the free flow of creativity, and focus on process over perfection. No idea is too outlandish, and all possibilities are considered. A few tips to get you started:
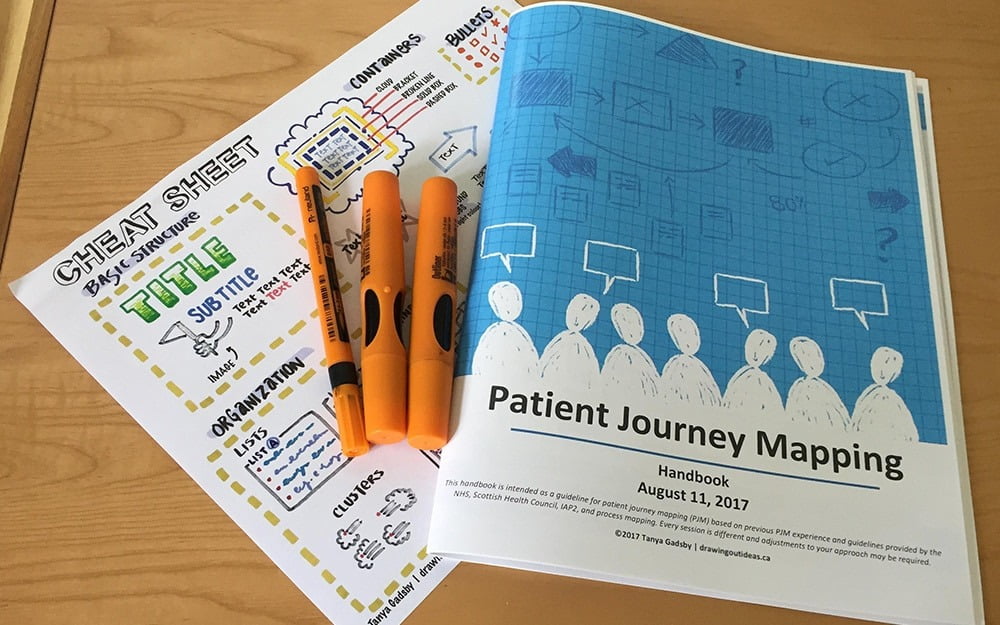
1. Frameworks for organizing your thoughts: familiarize yourself with the basics of visual note-taking, as outlined in this article. Even just knowing how to quickly draw a speech bubble, connector lines, and organizing your text will help you keep your thoughts clear.
2. Speed is your friend during rough sketching! Set a timer for no more than 3-5 minutes and allow ideas to spill onto the paper with zero judgment. Only after you’ve exhausted your initial burst of creativity do you let your critic out—slowly—to review and refine the ideas you’ve generated.
3. Work on paper: there’s of course nothing wrong with sketching digitally, but disconnecting from tech and getting down to the basics of pencil & paper will help you work rapidly.
4. Use it with teams: Design Sprints are a methodology for finding solutions in a compressed amount of time. The Sketch stage is a segment where teams use rapid sketching to generate a multitude of ideas, then narrow them down to the best. You can use just the Sketch methodology with your team to draw on group wisdom to generate multiple solutions to a problem.
5. Use Cases: rough sketching is a solution-finder for most any problem. A few examples:
Visualizing the flow of patients through a care system of service. What does an ideal pathway look like if there were no limits on staff or budgets? What’s something we haven’t tried?
Sketch the user interface of a telehealth experience to make it more user-friendly, especially for older adult patients. Brainstorm around accessibility features.
Generate innovative ideas for food security in communities. What hasn’t been tried before? A portable freezer for saving surplus food from restaurants? Micro-gardens for small balconies?
Visualize water collection and green infrastructure that can be easily implemented in drought-prone areas.
Sketch adaptive infrastructures that can withstand climate-related disasters, like floating cities or hurricane-resistant buildings.
Teachers might use rapid sketching to create a flow chart for a lesson or school year, marking key concepts, activities, and assessments. This can help ensure a logical and engaging structure.
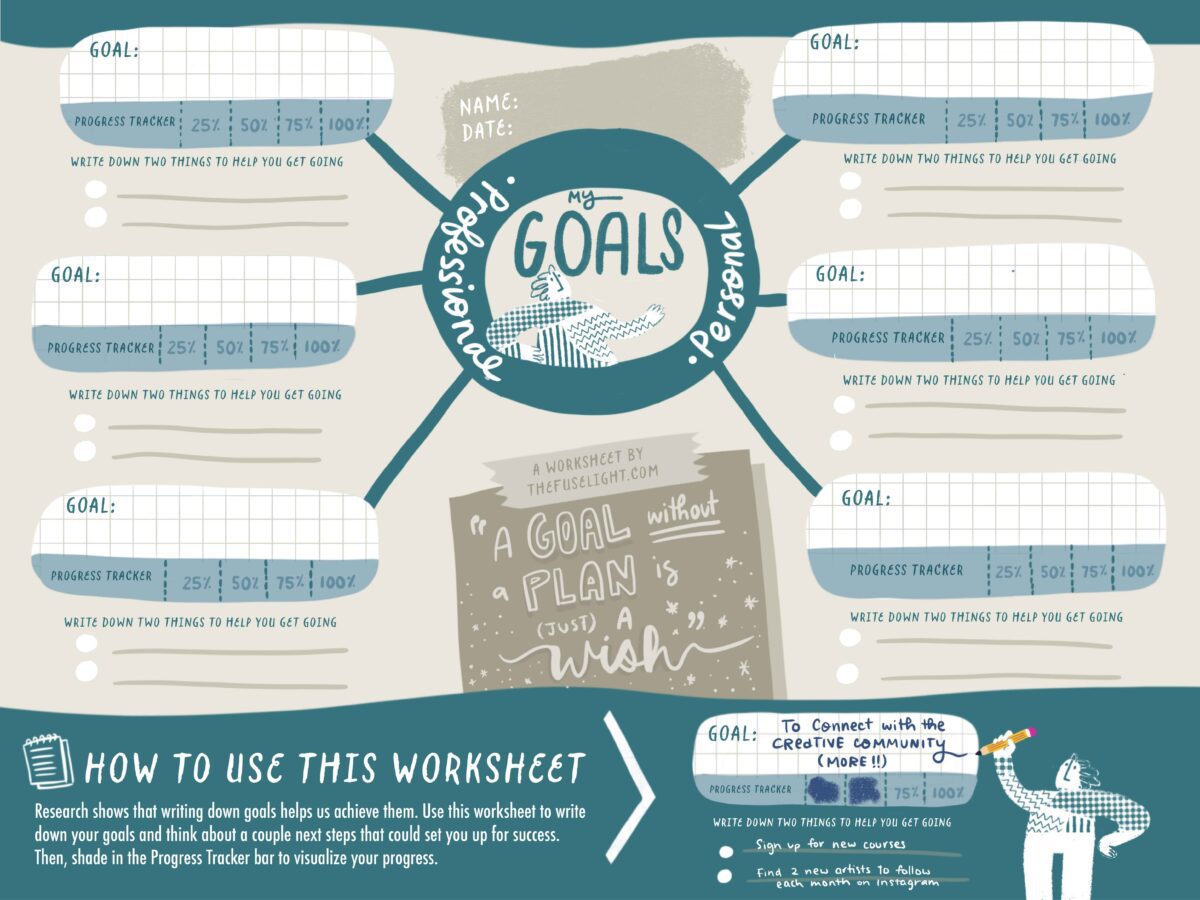
Or maybe you’re “stuck” with your goals, either professionally or personally. Use the template below to organize your thoughts, and maybe even add little doodles to each goal to help visualize them!
Click the worksheet above to download a high resolution version.
Bonus!
Get a peek at members of the Fuselight team talking about the rough sketch process during a team workshop:
