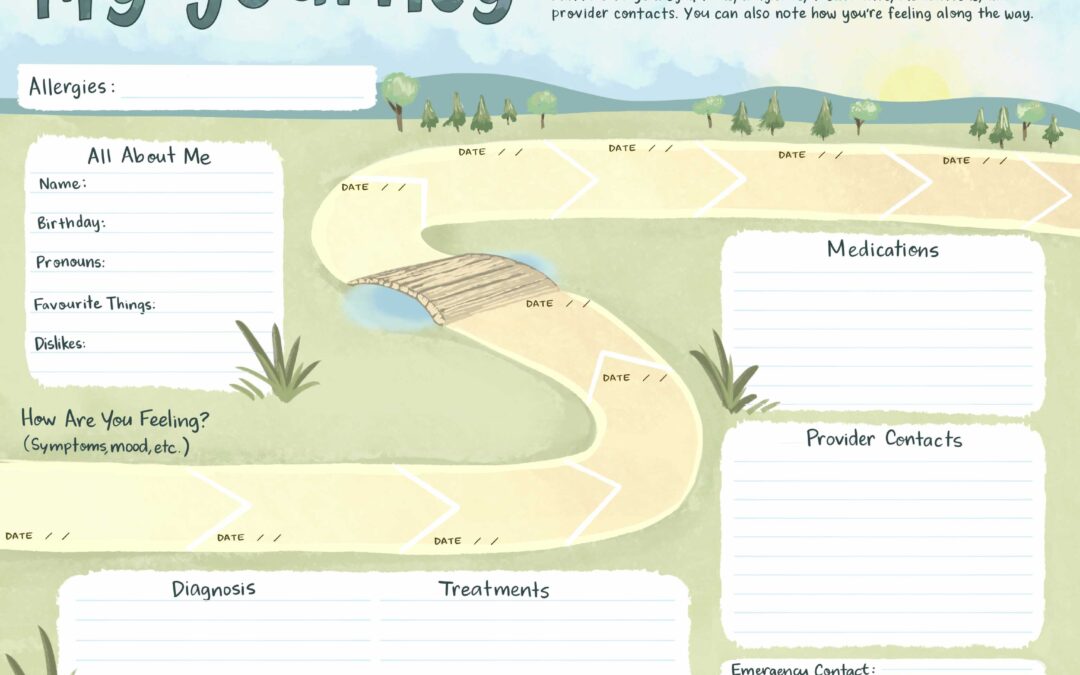
Virtual meetings are quickly becoming a preferred way of convening teams and large groups without the risk of travel delays, cancellations, influenza and epidemics, or impact on the environment.
But how do you “break the fourth wall” of the computer screen? How can you make the virtual space engaging, more social, and as close to (if not better) than in-person meetings?
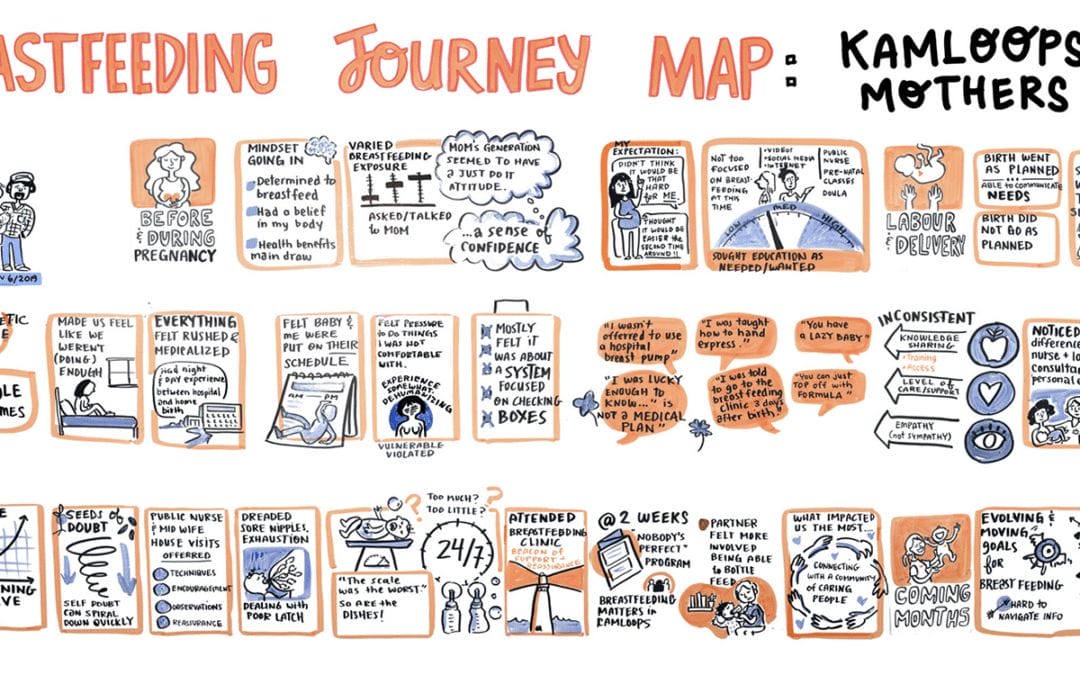
Virtual graphic recording, or webinar graphic recording, is an effective way of facilitating dialogue and keeping people focused in the virtual space. Virtual graphic recording plays a powerful role in webinar meetings because the visual notes are front and centre for everyone to see. Because of this, it’s important to have a clear plan for how the graphics will facilitate dialogue – virtual graphic recording shouldn’t be brought in as an afterthought.
Our team has a decade of experience working in digital graphic recording – including in-person and virtual conferences, piloting augmented reality in conferences and on posters, interactive infographics, and experimenting with new styles and ways of animating. This depth of digital experience is an asset in running successful virtual meetings.
Working with a Virtual Graphic Recorder with Expertise in your Field
The beauty of meeting virtually is that you can have a graphic recorder who is an expert in your field of work, and you don’t have to fly them half way around the world! We’ve previously talked about why it’s important to have a graphic recorder with a background in your work. It can make the difference in an effective and accurate visual notes. Someone who is familiar with your terminology and concepts can better make links between ideas and use images appropriate to your work.
We also adjust our style of graphics to align with your group’s culture and style of communication. Whether it’s playful and energetic illustrations, more streamlined and structured, or integrating charts, graphs, and images in the graphic recordings…. there are many ways the graphics can be tailored to enhance your group’s work.
Tanya graphic recording a live virtual meeting. The graphics play a key role in guiding the group discussion.
The Right Platform & Set Up
Fuselight is adept at working with virtual platforms (Zoom, Webex, BlueJeans, etc), and can make recommendations on what is the right fit for your team. The right platform really depends on the goals of the meeting, how you want to engage people, the size of the group, and the technology everyone is most comfortable with.
Two monitors: It’s ideal if all participants have a two-monitor set up. One monitor for seeing everyone’s faces, and one monitor for a brainstorming board or the digital graphic recording. Always being able to see people is crucial for maintaining social connections.
Headphones with mic: Everyone needs to hear each other loud and clear, and head phones with a built-in mic are best rather than an external microphone or using the one built into your iPad or laptop.
Space: Take a moment to consider your video set up (any dirty laundry in the background you should remove?), lighting, and whether there is any background noise. Background noise such as adjacent phone conversations, public spaces, or traffic are amplified by your microphone and are a huge distraction on virtual calls.
Connectivity: A strong wifi connection is key, especially if the virtual meeting will have more than 10 people dialling in. Fuselight is connected to fibre, which ensures the live visual notes are drawn seamlessly on screen without a delay. But also consider your own wifi connection — turn off any other devices or uploads you’re doing to ensure the connection is dedicated to the virtual meeting.
Roles: A well run virtual meeting has defined roles: someone to facilitate and run the session, the digital graphic recorder, and someone dedicated to sorting out technical glitches if they come up (both for the host, and for participants!).
Know the software tools available
A webinar shouldn’t just be talking heads! There are tools for engaging participants, gathering input, hosting breakout groups, and setting up an environment that is more social and interactive. A few examples:
Virtual Brainstorming Boards
Virtual boards are excellent platforms for group brainstorming. These interactive walls are where people can move sticky notes around, add images, or work collaboratively on a problem. For example, as an icebreaker, consider having people post a metaphorical image of what they hope to achieve in the meeting. Links to virtual brainstorming boards:
Anonymous Polling and Q & As
Anonymous polling and Q&As helps give a voice to all participants. These can be used in in-person meetings, and virtual meetings.
Engage through gamification
Online learning is enhanced when we learn through “edu-tainment” — this is particularly true in virtual meetings where injecting some playfulness will boost engagement.
Facilitation Plan
Agenda: Just as with any in-person conference, a virtual meeting needs a clear agenda and objectives. Map out the sequence of the session, from articulating the objective of the meeting, to how you’ll run the opening intros, icebreaker, topics you want to cover, breaks, group or individual work, and timing of each section.
Plan how best people can engage with the virtual graphic recording — will it always be on-screen? Or are there times it needs to be hidden? How might we build in opportunities for people to engage with the graphic recording and add their thoughts or ideas?
Set Up Tips: In advance of the call, send a list of set up tips to participants. For example, having a two-monitor set up, in-line microphone, and ask that they test the software you’ll be using. Emphasize how important these details are for a successful virtual meeting.
Shared Values (Ground Rules): We prefer to call meeting ground rules “Shared Values,” and these are important for the group to understand at the beginning of the session. For a virtual meeting:
- have a plan for how you’ll take turns speaking (some platforms allow people to “raise their hand” virtually)
- how you’ll be gathering feedback from the group
- who is the moderator or host
- who is able to help with technical issues
- how you’ll operate in the virtual space (e.g. everyone is on mute until it’s their turn to speak)
It’s also an opportunity to familiarize people with the interactive whiteboard (if you’re using one), or virtual graphic recording.
Breakouts: Just as with in-person meetings, plan individual reflection time or small group breakouts. If you have breakout groups:
➜ Keep the breakouts to 2-3 people maximum, as any larger can be challenging in the virtual space. A small breakout group allows people to better engage, as they are less likely to sit back and allow others to talk.
➜ Graphic recorder for each breakout: Depending on the number of breakouts you’re having, each breakout can be supported by a different graphic recorder to help capture ideas and map out a visual plan.
➜ Hands-on Options: Give people the opportunity to map their ideas using a marker and a printed visual template, rather than always working digitally. Working hands-on breaks up the screen time and participants can easily present back their work by photographing and uploading their templates.
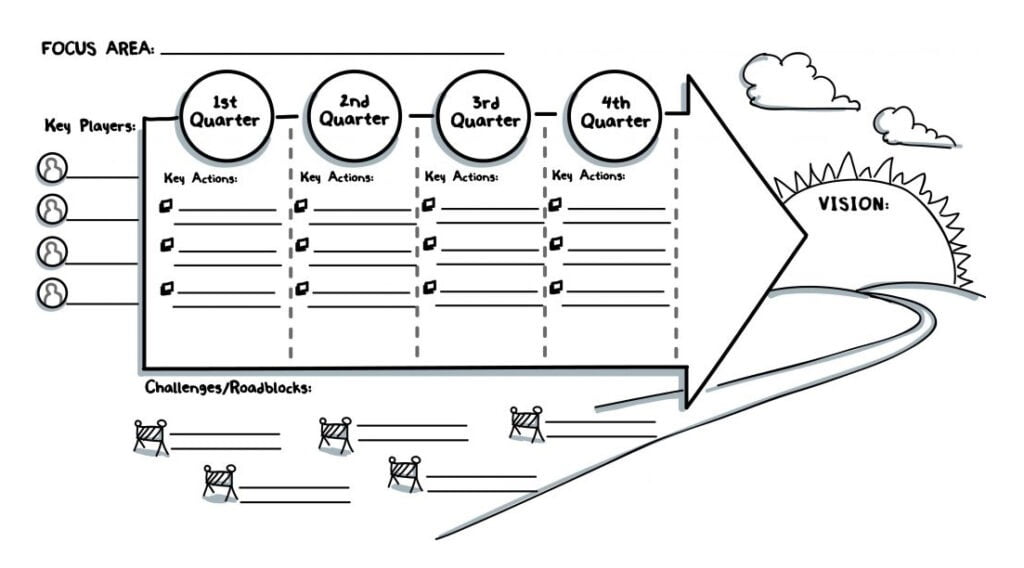
➜ Virtual Visual Template: The brainstorming board (see software tools above) can include a visual template to help guide group work. It’s best if participants can use an iPad or Wacom tablet to write their ideas on the template rather than type. Writing by hand is naturally slower, and it helps people better filter their ideas instead of typing up every last word.
➜ Mark up the graphic recording: The breakout is also a great opportunity for participants to take a copy of the graphic recording and mark it up with their ideas, additions, changes, or reactions. Groups can then present their thoughts back to the larger group and it can be captured in the main graphic recording.
Breaks for Physical Movement: On long webinars, it’s important people have the opportunity to get up and move, grab a snack, or get some fresh air.
Human Connection:Because the virtual space makes it more difficult to read body language, build in a way for the group to express themselves as individuals, whether that’s through the chat function in the platform, or through MURAL boards and emoji walls. Consider setting up networking “chat rooms” for people to connect on different topics or one-on-one (such as Slack).
Walkthrough of the Graphics: We always do a walkthrough of the graphics at the end of in-person conferences, and the same is true for the virtual sessions. It’s an opportunity for the group to reflect on what was discussed, add or make changes to the graphic, and is a powerful way of closing the meeting.
Test, test, test!
Probably the most important part of any virtual meeting, and especially if you’re including virtual graphic recording, is doing one or two “dry runs” in the days or weeks ahead of the meeting. It’s important to test the connectivity, how the graphics interact with the platform, and any interactivity you’re planning for participants.
Fuselight always has multiple back up plans if tech gremlins pop up on the day. Our three digital back ups include: the Surface Pro, iPad, and a 2020 MacBook Pro + Wacom. If all three were to miraculously fail, we set up a web camera over a sketchbook and draw on paper! We also have team members available in other locations that can jump into the webinar if our main graphic recorder is experiencing issues in their location.
After the Virtual Meeting
Sharing the virtual graphic recording: As soon as the meeting wraps up, send around the digital graphic recordings as a succinct visual record of the meeting’s accomplishments and next steps.
Or, consider printing hard copies of the graphic and sending to the team as a hands-on takeaway. We illustrate in high resolution, or in vector graphics, which means the graphic can be scaled to most any size and printed without losing resolution.
Interactive image: We can make the graphic recordings interactive! When viewing the graphic recording, people people can click on different areas of the graphic and speech bubbles, images, graphs, or videos can pop up with more information. We can even embed different sections of the video of the virtual meeting (if you’ve recorded it) so each area of the graphic recording shows a specific part of the webinar.
Video: highlights reel and animation of the graphic recording
During the virtual meeting, we can record the graphic recording as its being drawn and edit it into a succinct video. If you’ve recorded the webinar, rather than only circulating the full recording, consider having a shorter “highlights reel” that has the animated graphic recording along with people’s voices narrating, videos of people speaking, brainstorming boards, or presentations.
We helped UVic edit a 4.5 hour conference down to a 5 minute video that included voices of presenters at the conference.
Animated GIF: Wanting a simpler way of “bringing the graphics to life”? We can easily create a little animated GIF of the graphic recording — great for sharing on social media!
User Guide: Fuselight also provides you with a comprehensive “User Guide” that has a range of ways our clients are using the graphics, both digitally and in print form.
The Future of Virtual Meetings
We’ve been exploring the virtual space for a while now. In recent years, virtual reality has become accessible and immersive, and it’s projected to become a more natural way of facilitating group work globally. Fuselight is always excited to pilot new ways of working in these exciting times!
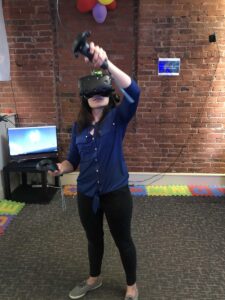
Tanya experimenting with Virtual Reality Graphic Recording.
Microsoft is developing incredible mixed reality spaces for teams to collaborate as if they’re in the same room.
Spatial is another example of how teams might work together in the digital world.
